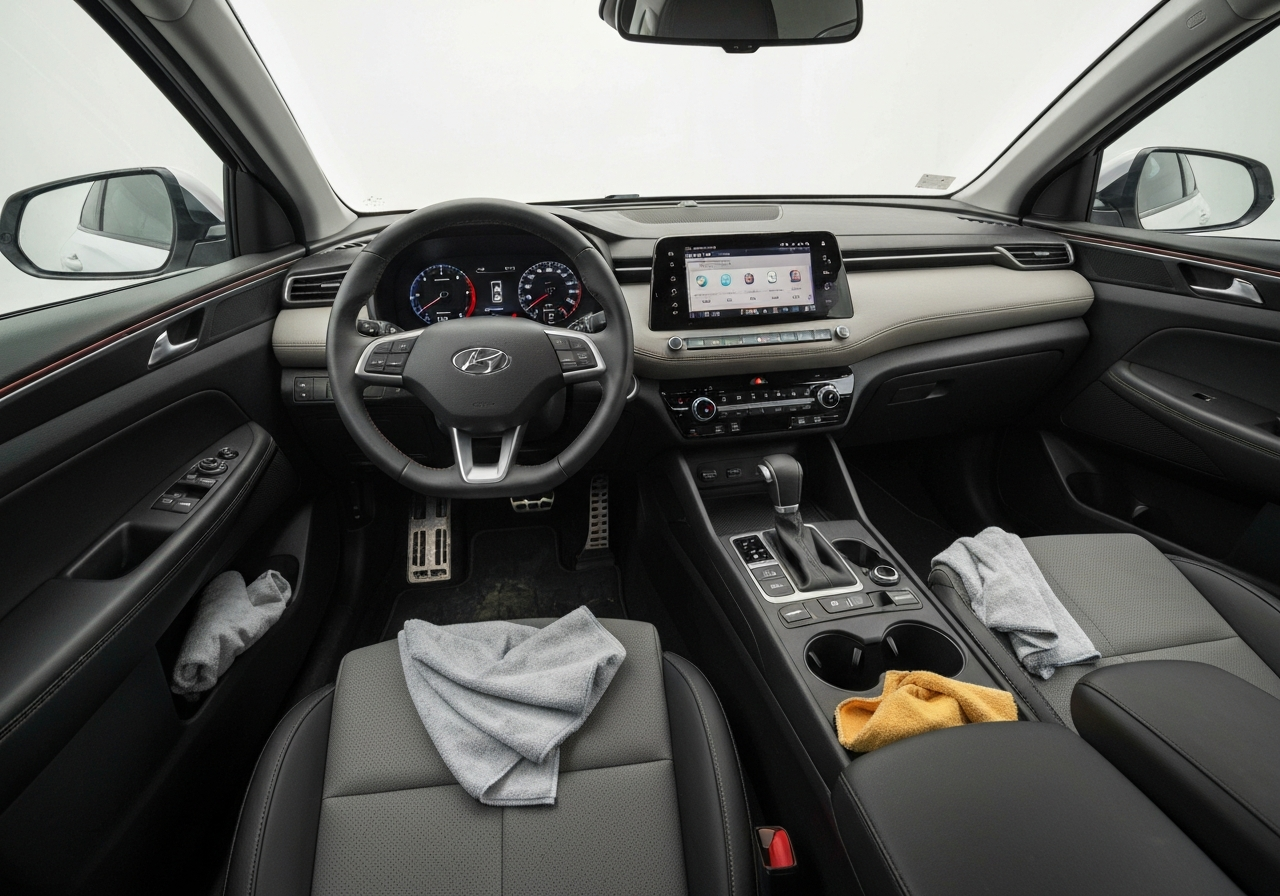
Cleaning your car doesn't have to be overwhelming. With the right order of operations and a few cheap supplies, you can get professional-level results in your own driveway — and a spotless, fresh-smelling car is far easier to maintain when you make it a habit. It matters even more with a used car: a thorough deep-clean removes the previous owner's lingering grime, helps you spot problems hiding under the mess, and protects the value you'll cash in when you sell. Here's how to do it like a pro, step by step.
Why a clean used car is more than vanity
A clean car isn't just nicer to drive — it's a healthier, more valuable, and better-maintained one. Dirt, food crumbs, and moisture trapped in carpets and vents can breed mold and odors that affect the air you breathe. Grime left on paint and trim slowly degrades them. And a clean, well-kept interior signals to a future buyer that the car was cared for, which directly boosts what it's worth.
There's a hidden benefit, too: a deep clean forces you to look closely at every surface. That's how you discover the small things — a worn seatbelt, a sticky window switch, a stain hiding a leak — before they become surprises. Cleaning and inspecting go hand in hand.
Gather your supplies first
You don't need much, and you don't need expensive products. A vacuum with attachments, microfiber towels (lots of them), a couple of buckets, car-wash soap (never dish soap, which strips wax), glass cleaner, an all-purpose interior cleaner, a few detailing brushes, and a wash mitt will cover almost everything. Add upholstery or leather cleaner depending on your seats. Having it all ready before you start keeps the job smooth and quick.
Step 1: Declutter and remove the trash
Start by emptying the car completely. Toss obvious trash, then remove everything that doesn't live in the car — clutter from the seats, door pockets, center console, glovebox, cupholders, and trunk. You can't clean around a mess, and you'll be amazed how much bigger and better the car feels once it's empty. Set aside anything you want to keep so it doesn't get vacuumed up.
Step 2: Pull the floor mats
Take out all the floor mats and clean them separately. Rubber mats can be hosed off, scrubbed, and left to dry; carpeted mats can be vacuumed and spot-cleaned. Cleaning them outside the car lets you reach the carpet underneath and prevents you from just pushing dirt around. Let them dry fully before they go back in.
Step 3: Vacuum thoroughly, top to bottom
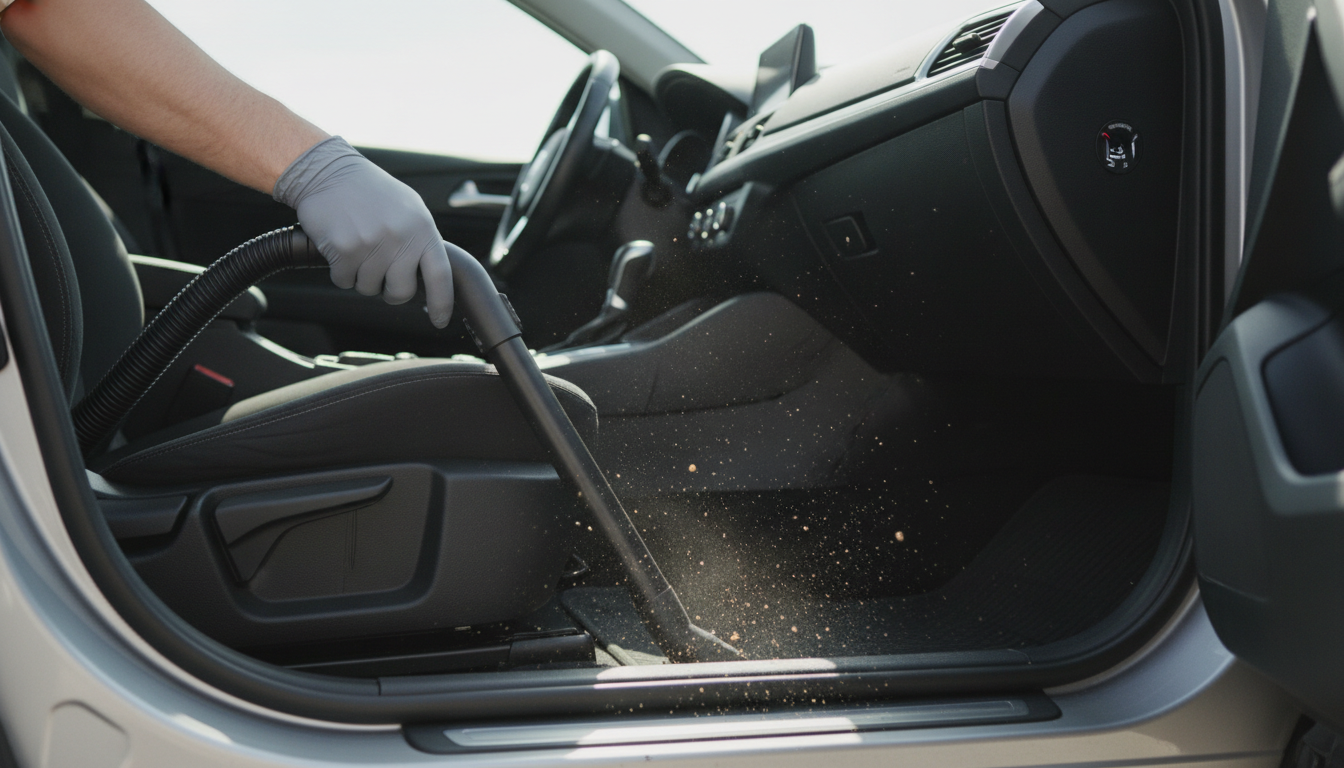
Now vacuum everything. Work from the top down and front to back so debris falls onto surfaces you haven't cleaned yet. Use the attachments to get into seat seams, under the seats, along the rails, and into every crevice. Push the seats forward and back to reach what's hidden beneath. This is the most satisfying step and the one that makes the biggest visible difference.
Step 4: Wipe down the hard surfaces
With the loose dirt gone, clean the dashboard, center console, door panels, steering wheel, and other hard surfaces with a microfiber cloth lightly dampened with an appropriate interior cleaner. Work methodically so you don't miss anything, and use a soft detailing brush to lift dust from textured trim, buttons, and seams where a cloth can't reach.
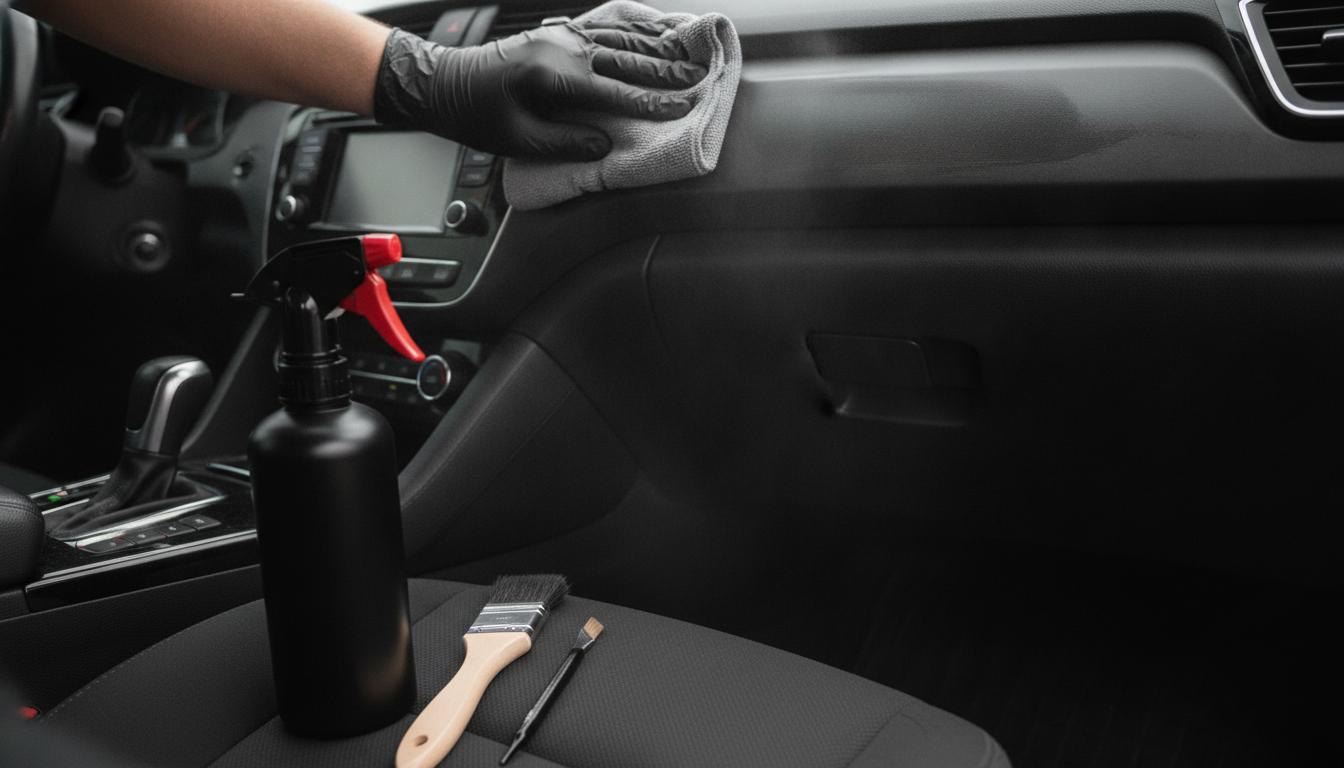
Avoid harsh household cleaners and anything that leaves a greasy, glare-inducing shine on the dash — it can be distracting and slippery. A clean, matte, naturally finished surface looks and performs best.
Step 5: Clean the glass last
Clean all the windows and mirrors, inside and out, after the rest of the interior so you don't re-smudge them with overspray. Use an automotive glass cleaner and a clean microfiber towel, and don't forget the often-missed top edge of the windshield and the rear glass. Streak-free glass makes the whole car feel finished — and improves your visibility and safety to boot.
Step 6: Sweat the small details
The difference between a clean car and a professionally detailed one is in the details. Use a brush or a foam swab to clean air vents, the seams around buttons, cupholders, and tight crevices. Wipe down the seatbelts and buckles. Clean the inside of the door jambs. These little touches are what make the car feel genuinely new again rather than just tidied up.
Step 7: Treat the upholstery and carpet
For cloth seats and carpet, spot-treat stains with an upholstery cleaner, working from the outside of the stain inward so you don't spread it. For a deeper clean, a carpet-and-upholstery cleaner or a rented extractor can lift years of embedded grime. Whatever you use, don't over-wet the fabric — excess moisture trapped in seats and carpet is how cars develop that musty smell. Let everything dry thoroughly with the doors open.
Step 8: Care for leather seats
If your used car has leather, treat it gently. Wipe the seats with a dedicated leather cleaner and a soft cloth, then follow with a leather conditioner to keep the material supple and prevent the cracking that plagues neglected leather. Avoid generic all-purpose cleaners on leather, which can dry it out. Well-conditioned leather looks better and lasts far longer, protecting both comfort and resale value.
Start fresh
We'll find you a clean, well-kept used car.
Tell us what you're after and we'll send hand-picked used-car deals near you — cared-for vehicles at prices below the lot.
Get Used-Car DealsStep 9: Banish odors at the source
Odors come from a source — they can't be permanently masked with a spray. Once you've vacuumed and cleaned thoroughly, most smells disappear on their own. For stubborn ones, sprinkle baking soda on the carpet and seats, let it sit, then vacuum it up. Replace the cabin air filter if the vents smell musty, and air the car out in the sun. Tackle the cause, not just the symptom, and the fresh smell will last.
Step 10: Wash the exterior the right way
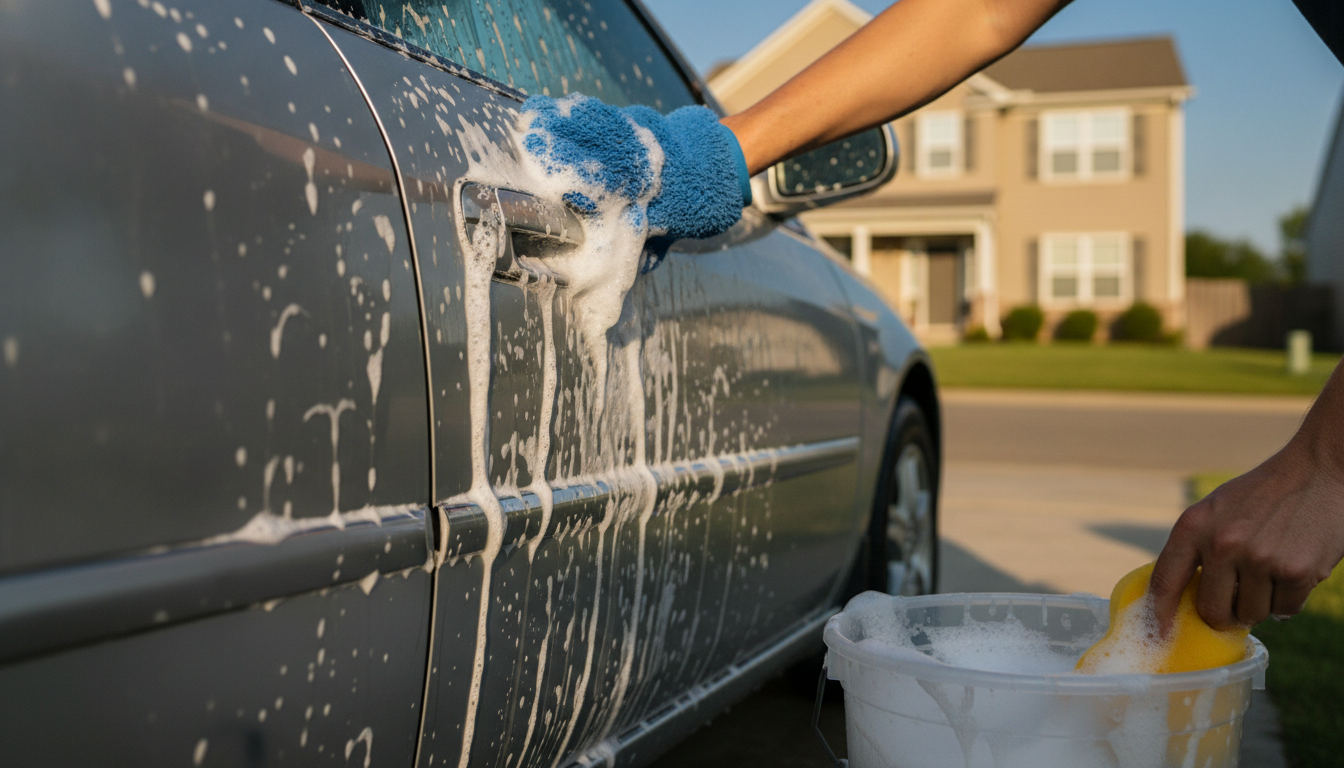
Move outside and wash the body using the two-bucket method: one bucket of soapy water and one of clean water to rinse your mitt, so you're not grinding dirt back into the paint. Work top to bottom in sections, rinsing as you go, and use car-wash soap rather than dish soap. Wash in the shade if you can, so the soap doesn't dry and spot before you rinse it.
Step 11: Don't forget the wheels and tires
Wheels and tires collect the worst grime — brake dust, road tar, and dirt. Clean them first or with a separate mitt and brush so you don't transfer that grit to the paint, using a wheel cleaner suited to your wheel type. A dedicated wheel brush gets into the spokes and barrels. Clean wheels make a startling difference to how sharp the whole car looks.
Step 12: Dry, then protect
Dry the car with clean microfiber towels to avoid water spots, then consider a coat of wax or a spray sealant. Wax protects the paint from sun, rain, and contaminants, makes future washes easier, and gives that deep, glossy finish that makes a used car look loved. It's an hour well spent a few times a year.
Step 13: Finish the jambs and the trunk
Two spots almost everyone forgets: the door jambs (the painted areas you only see when the doors are open) and the trunk. A quick wipe of the jambs and a vacuum of the trunk complete the job and are exactly the kind of detail a sharp-eyed buyer notices. Now your car is genuinely clean, inside and out, top to bottom.
How often should you do this?
A quick weekly tidy — trash out, a fast vacuum, a wipe of high-touch surfaces — keeps mess from building up. Plan a deeper clean like the one above every few months, or seasonally, plus an exterior wash every couple of weeks (more often in winter, when road salt is hard on the body). Little and often beats one giant, dreaded cleanup, and it keeps the car consistently pleasant to own.
Pro tips and common mistakes
- Always work top to bottom, so debris and drips fall onto not-yet-cleaned areas.
- Use microfiber, not paper towels or old rags that can scratch.
- Never use dish soap on the paint — it strips protective wax.
- Don't over-wet upholstery or carpet; trapped moisture causes mold and odors.
- Test any new cleaner on a hidden spot first.
- Clean glass last, and wheels separately, to avoid re-contaminating clean surfaces.
Cleaning before you sell
If you're getting ready to sell, a thorough detail is the highest-return hour you can spend. Buyers form their impression in seconds, and a spotless, fresh-smelling car signals that the whole vehicle was cared for — which justifies a higher asking price and a faster sale. The cost is a few cleaning supplies and an afternoon; the payoff can be hundreds of dollars and a quicker deal.
DIY or pay a professional?
Doing it yourself is by far the cheapest route — a one-time investment in supplies covers many cleanings, and the results can rival a shop's if you're patient. A professional detail, on the other hand, saves you time and includes deep-cleaning equipment and skills most of us don't have at home, which can be worth it for a heavily neglected car, a serious stain or odor problem, or prepping a car for sale. A sensible middle path is to handle routine cleaning yourself and book a professional deep detail once a year or before you sell. Either way, the goal is the same: a consistently clean car that's healthier to ride in and worth more when you move on.
Simple habits that keep it clean
The easiest car to clean is the one that never gets very dirty. A few small habits make a big difference: keep a small trash bag or container in the car and empty it regularly; set a no-food (or at least no-messy-food) rule; use all-weather floor liners that you can pull out and rinse; and do a 60-second tidy whenever you fill up with gas. None of these takes real effort, but together they keep your car looking detailed between deep cleans — and stretch the time before you need to do the whole routine again.
A quick word on the engine bay
The engine bay is the one area to approach with care rather than a hose. A light cleaning — wiping down covers and brushing away leaves and debris — keeps it tidy and, more usefully, makes it far easier to spot fresh leaks against clean surfaces. Avoid blasting water directly at electrical connectors, the alternator, or the fuse box. If you want a deeper engine-bay clean, use products made for the job and keep sensitive components covered. A tidy engine bay won't change how the car runs, but it helps you catch problems early and reassures any future buyer that the car was meticulously cared for.
The bottom line
Cleaning your used car like a pro is mostly about doing the right steps in the right order with the right (inexpensive) tools. Declutter, vacuum, wipe, detail, treat the seats, kill odors at the source, then wash, protect, and finish the details. Make it a habit and your car stays fresh, healthy, and valuable for as long as you own it. And if you're still shopping, remember that the cleanest starting point of all is a used car that was well cared for from day one — which is exactly what we help you find.
Clean car, clean deal
Get matched with well-kept used cars.
Drop us your email and we'll send curated used-car deals near you — cared-for vehicles at fair prices, no lot pressure.
Get Used-Car Deals